Get your bike ready for Spring in 10 easy steps!
Prepare your bike for Spring in these easy steps!
For many of us, our bikes have been locked away over winter - and maybe even before that! Now that the Spring sunshine is here, it’s time to make sure that your bike is ready. Get prepared for Spring and the return of group rides and cycling holidays as lockdown measures ease with these easy tips.
1) Adjust the bike seat
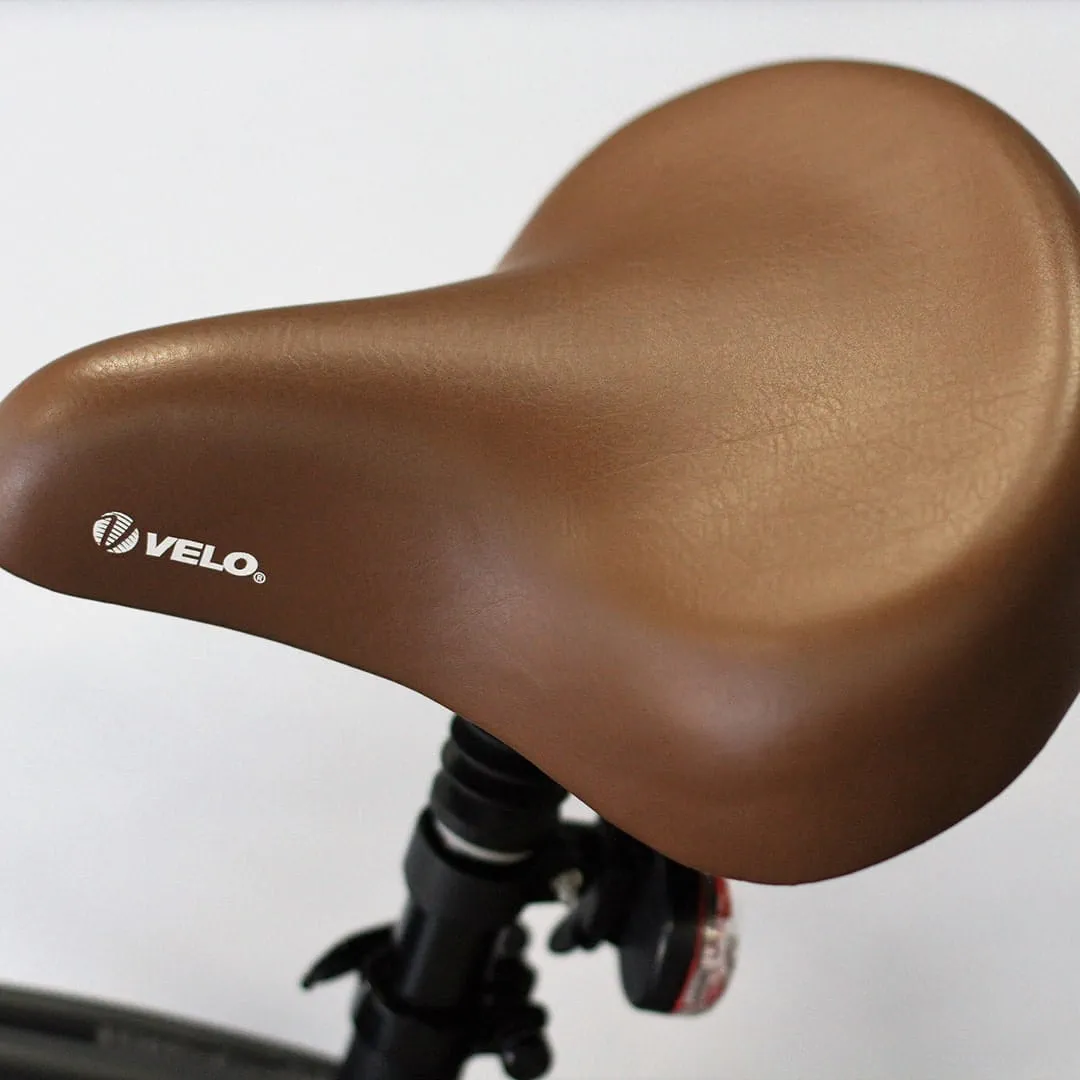
If your bike has been in storage for a while, then make sure that you tighten your bike seat before you get riding again. A loose bike seat isn’t just uncomfortable, but it can also cause trouble when you’re out on your bike. If your seat cover has been worn out after not being used in a while, then replace it as soon as you can and avoid riding in discomfort.
2) Adjust the derailleurs and shifters
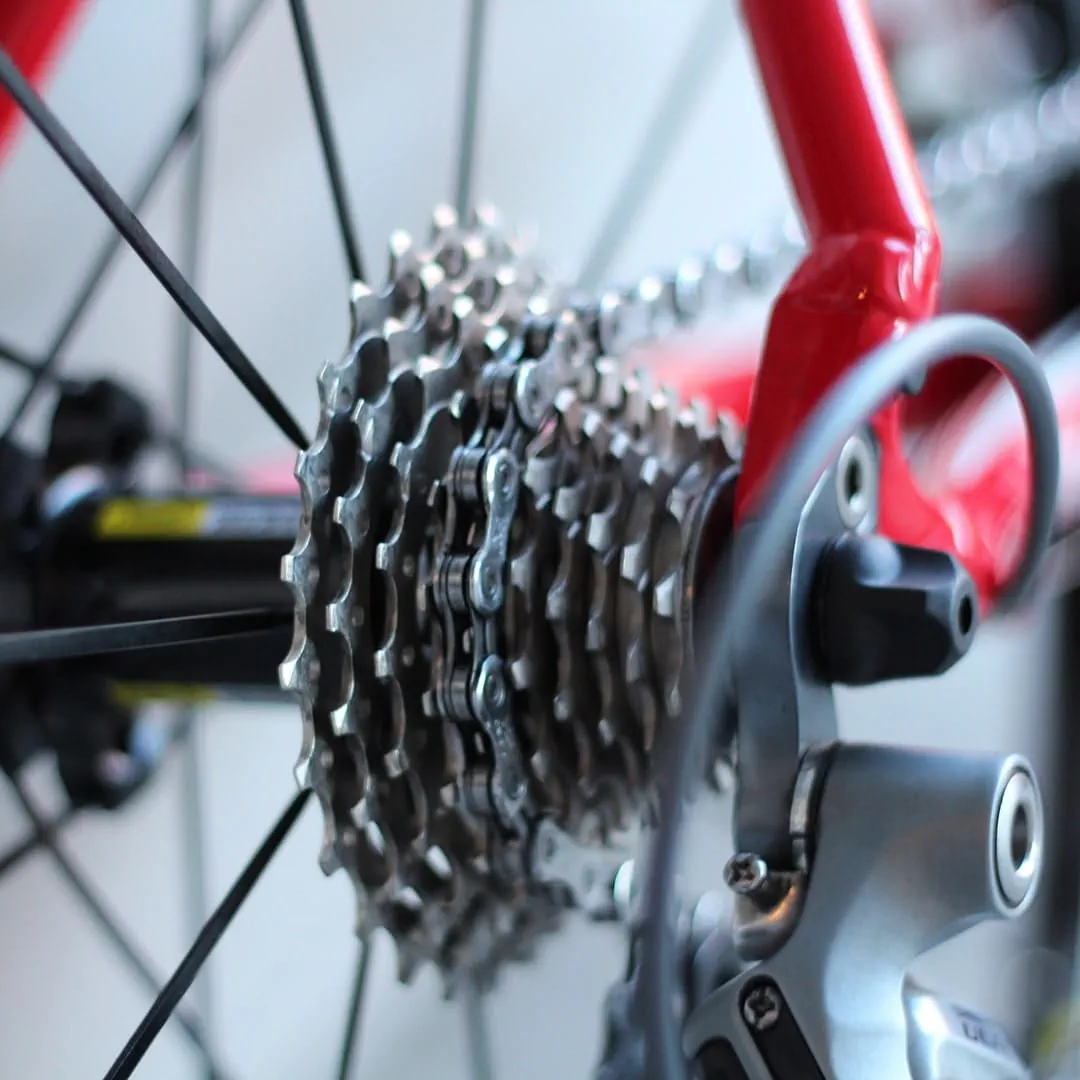
You’ll want to know that your gears are shifting smoothly before you head off for a Springtime cycle. If your bike hasn’t been used in a long time, then it’s possible that your derailleur needs adjusting. Using a bike stand, hang your bike upside down and spin the pedals to run through the gears and check that they shift correctly. If you do need to adjust your front and rear derailleurs slightly, you can do this quite easily with a Philips-head screwdriver.
3) Check your tyre pressure
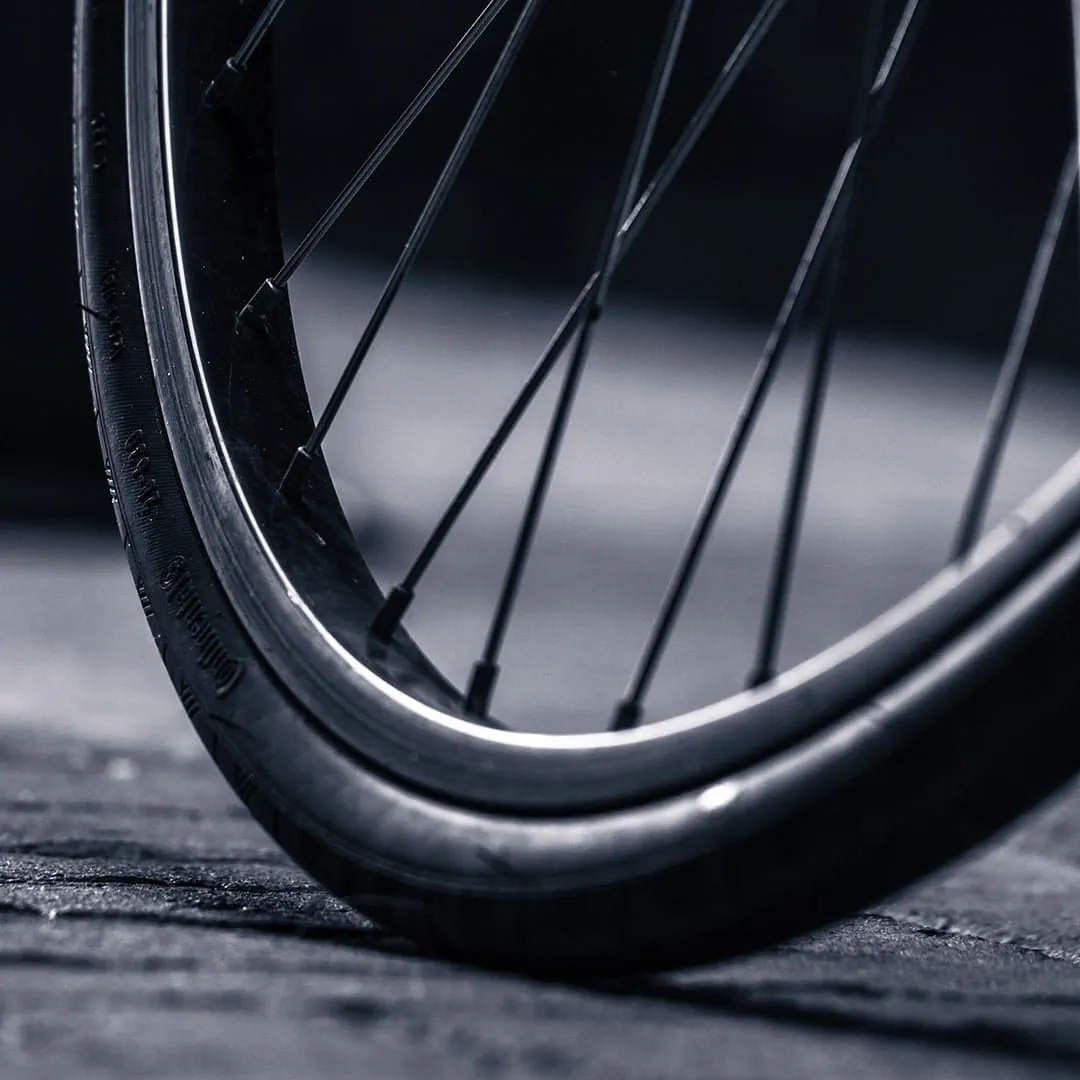
One of the first things any cyclist should check is the tyre pressure. All tyres will lose air pressure over time, even if they’ve been standing still for months on end. Check the manufacturers instructions as to what the recommended tyre pressure should be for your bike. You can use either a floor pump or an electric bike pump to get the correct tyre pressure.
4) Check your brake levers
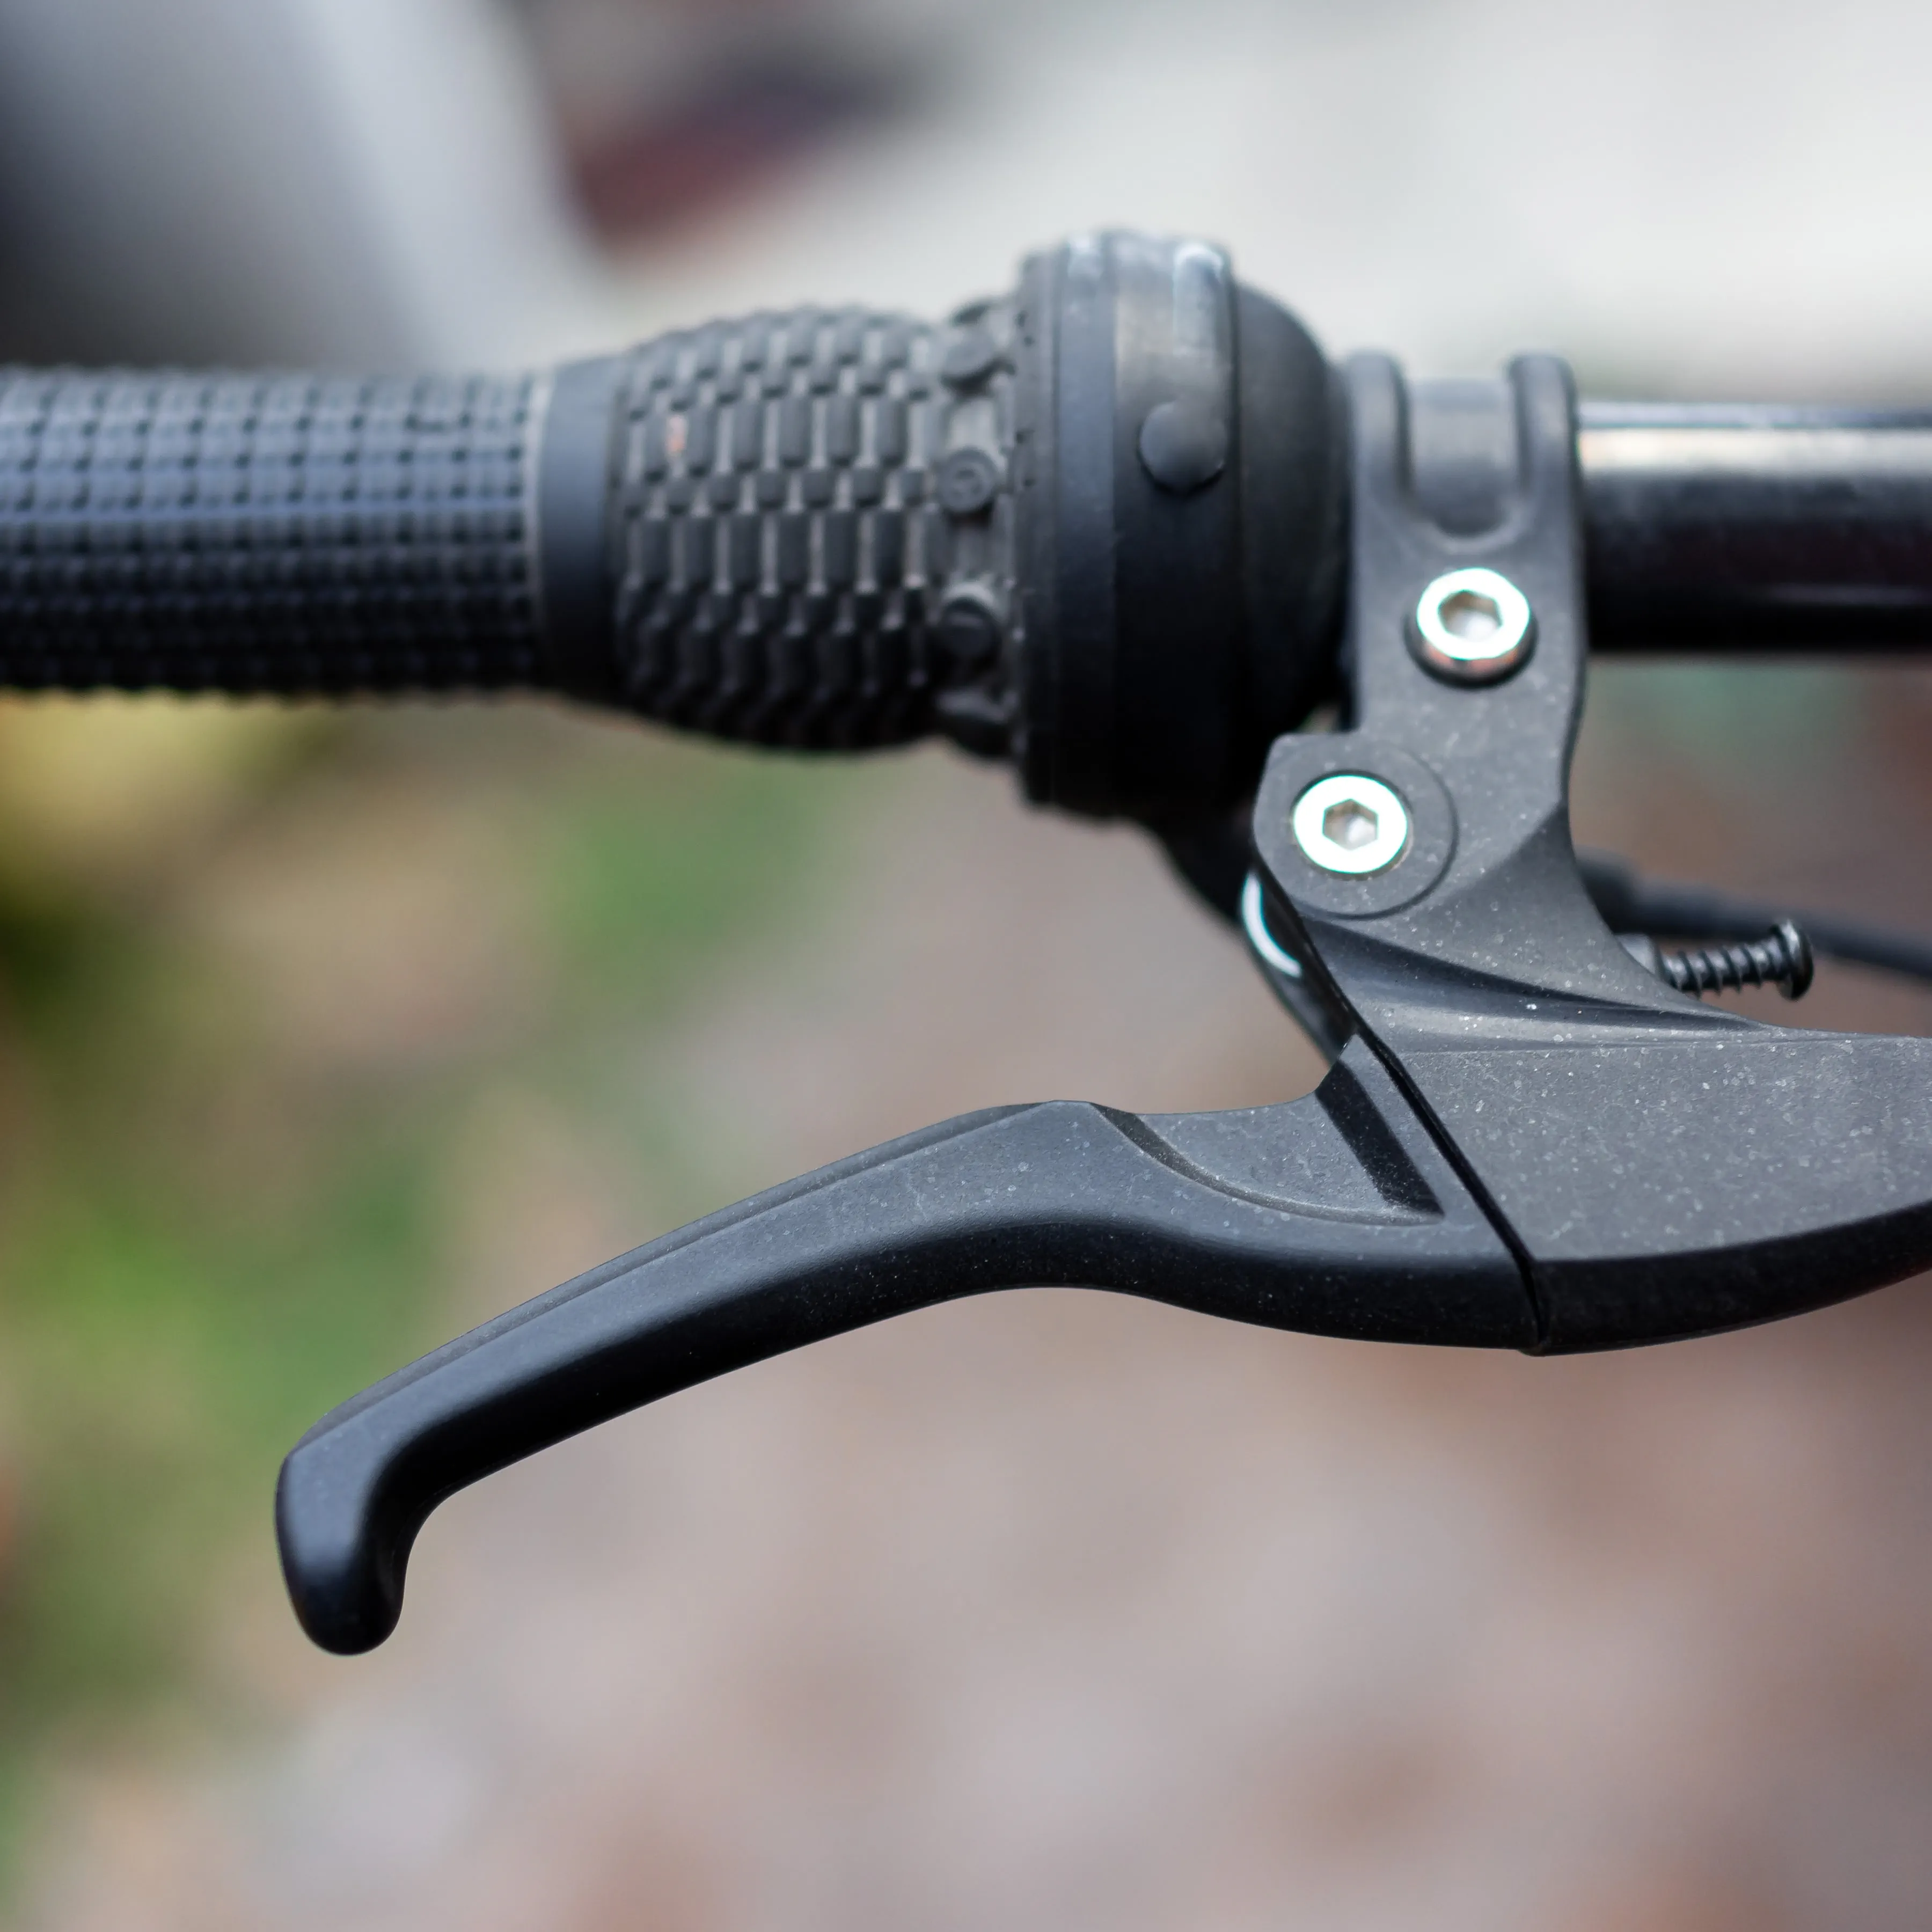
It’s important that your brakes are working correctly. You never know when you’re going to need them and they could end up keeping you safe. Test your brake levers and see if they engage your brake pads as normal. The brakes shouldn’t stick and will need to bring the wheel to a complete stop when it’s moving. If your brake lever needs adjusting, you can do this by unscrewing the barrel adjuster slightly.
5) Check your brake pads
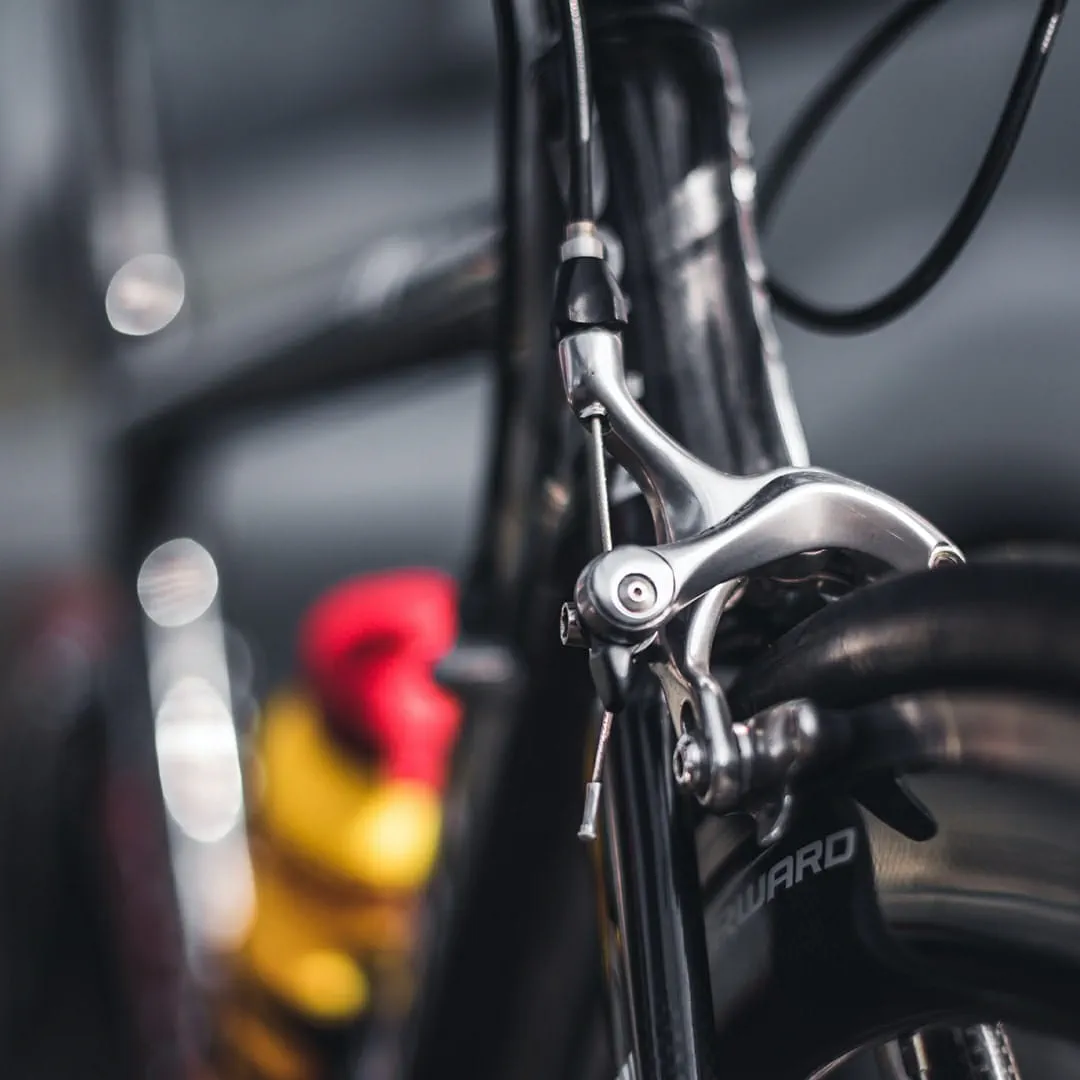
You’ll also need to check your brake pads properly before you set off. The brake pads on your bike shouldn’t be loose or appear worn. Adjust the brake cable with a screwdriver if your brake pads are too far away from the rim, and replace the pads if they look worn. If your brake pads are squeaking, then check out our useful guide on how to fix them here!
6) Check your bike chain
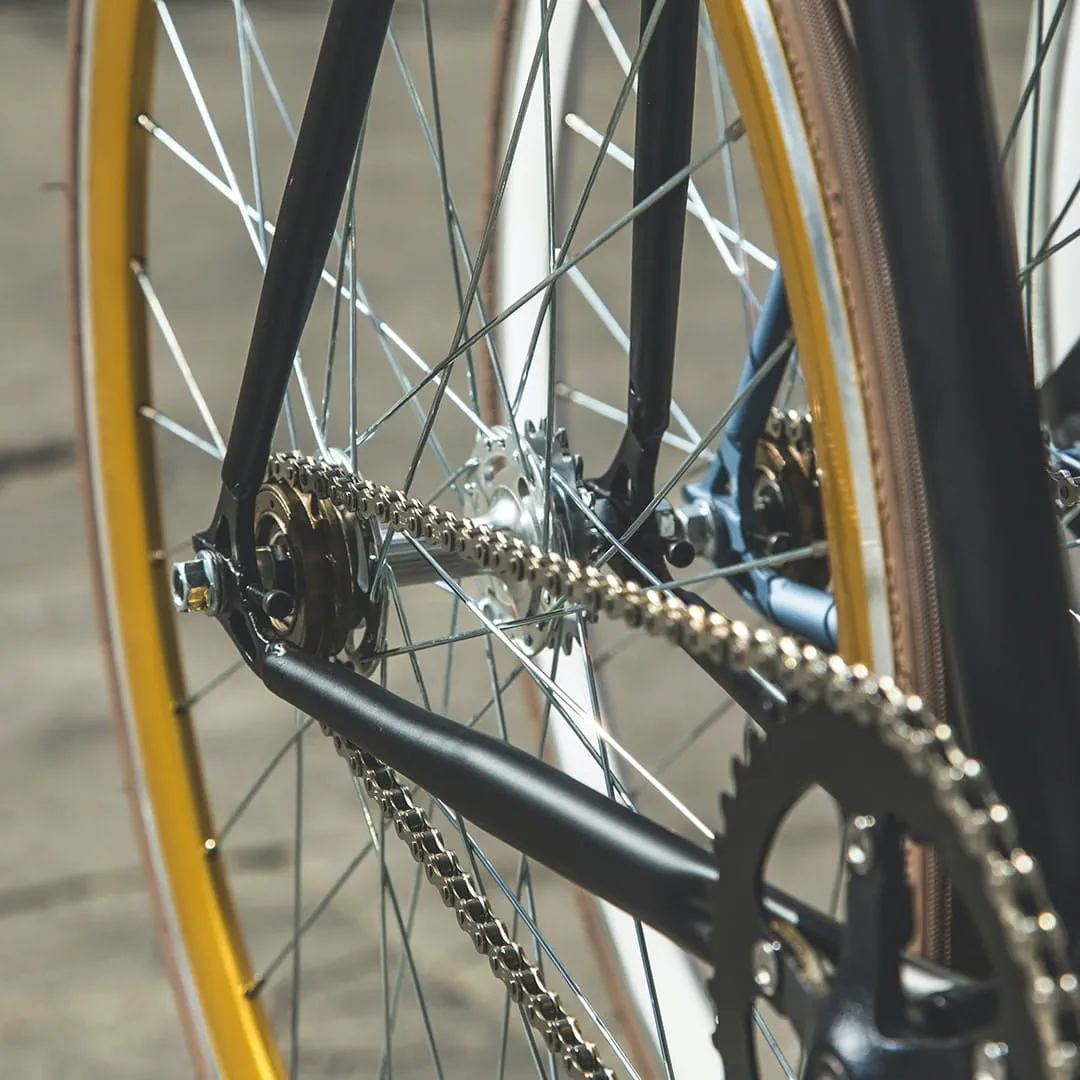
If your bike chain has loosened over time, then you run the risk that it could come off while you’re riding and cause a serious injury. Press your fingers against the top of the chain to check the chain tension. When you do this, your bike chain shouldn’t move more than half an inch. After a while, bike chains can loosen and stretch, so replace the chain if you need to.
7) Check the spokes

Your spokes keep your wheels straight. If your wheels are looking a little wonky, then you should tighten up the spokes to sort them out. Use the correct size spoke wrench and tighten each spoke at their base. Make sure that you don’t overtighten the spokes as too much tension can create deformities or cracks in the rim.
8) Check safety gear
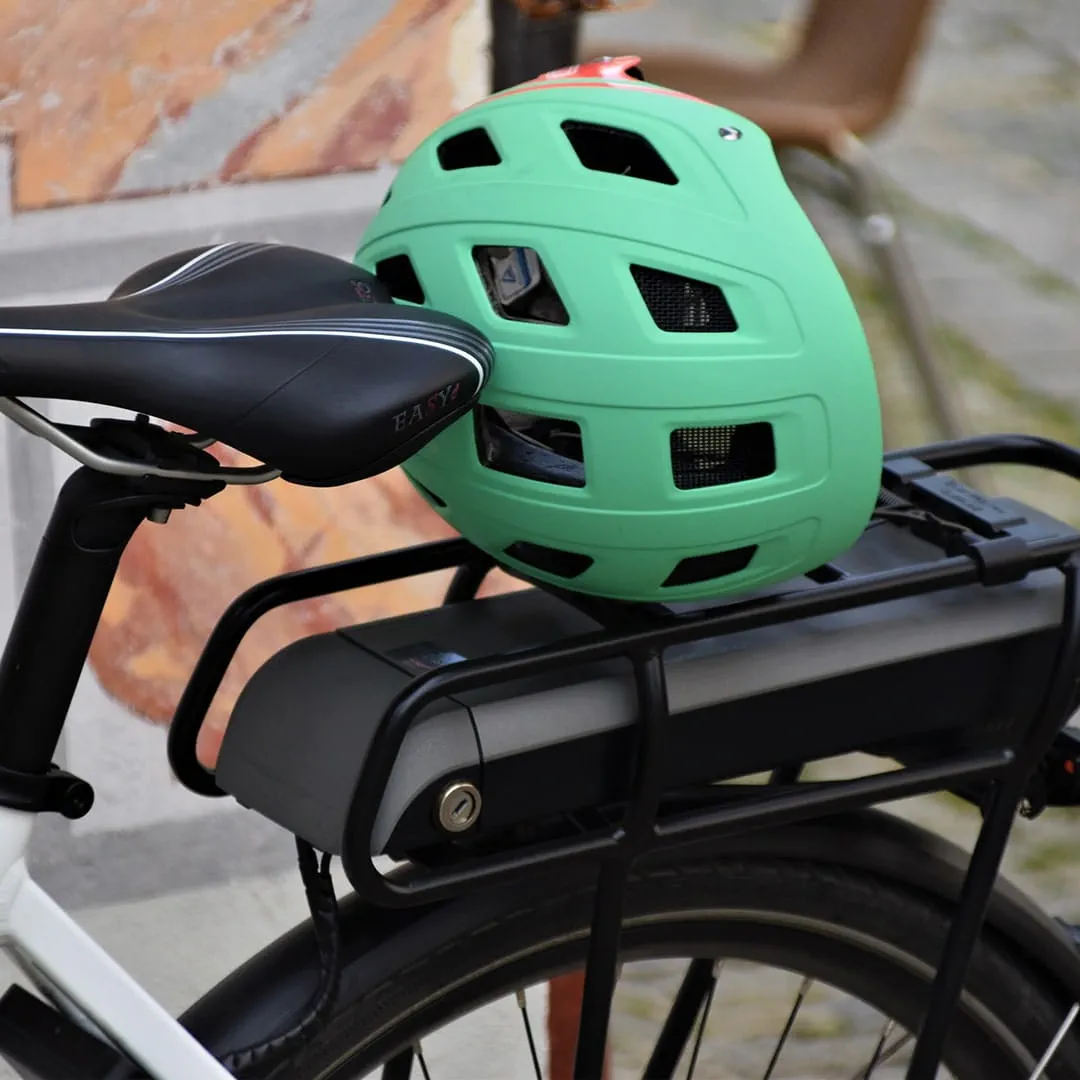
Do your bike lights work? What about your reflectors? You’ll need to make sure that all of the safety equipment is working correctly on your bike before you head out. In the UK, it’s illegal to ride your bike on a public road without lights after sunset, so you’ll need to make sure that they work properly.
9) Apply dry lubricant
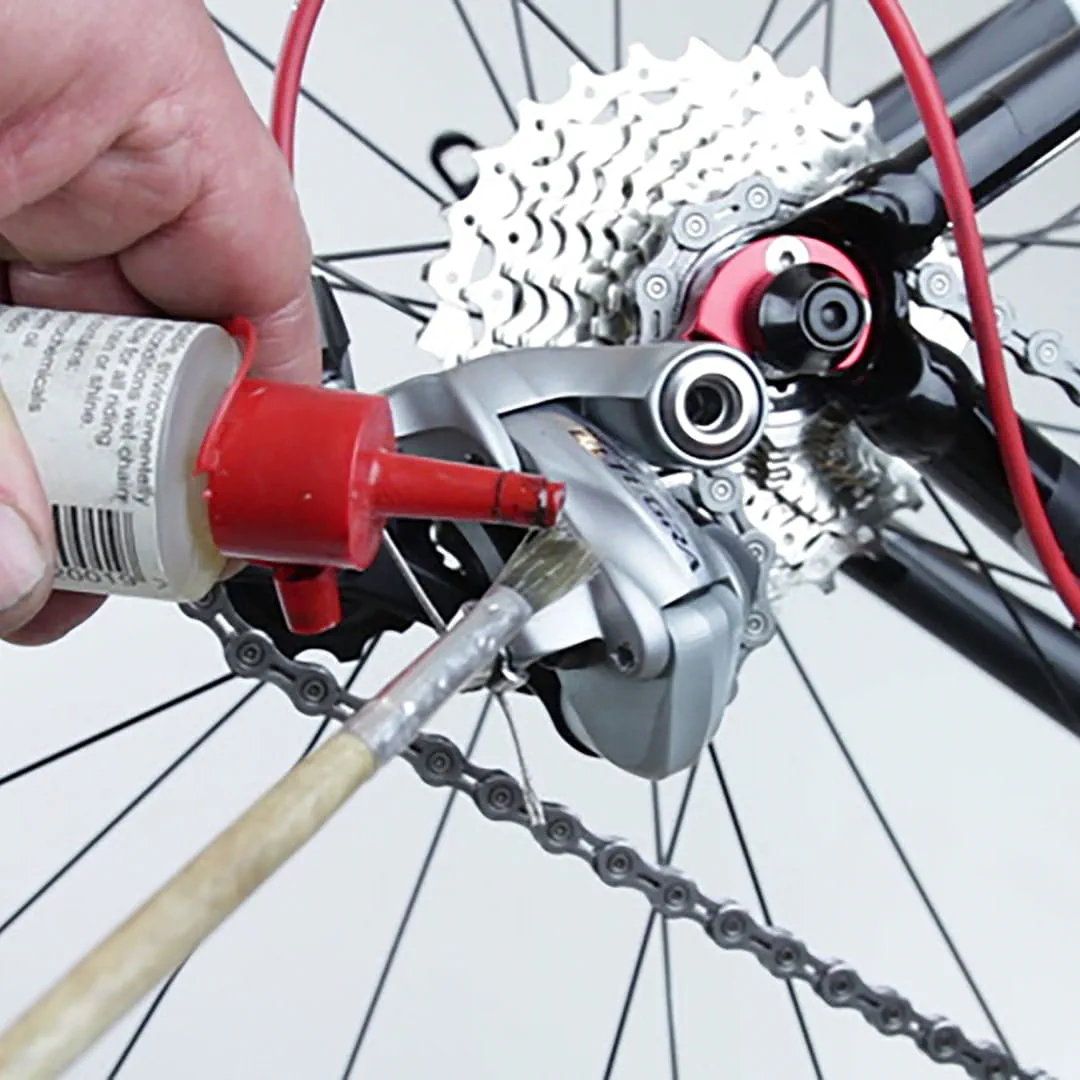
After a while, the parts of your crankset might not be moving correctly. The moving parts of your crankset consist of the rear cog, chainring and chain. If these don’t move properly, then apply some dry lubricant to fix them.
The difference between dry lubricant and wet lubricant is that dry lubricant is applied wet but then dries to a wax-like finish, so it doesn’t pick up much dirt. Wet lubricant will stay wet to the touch until they are wiped off and are generally much thicker than a dry lubricant.
10) Secure the child seat
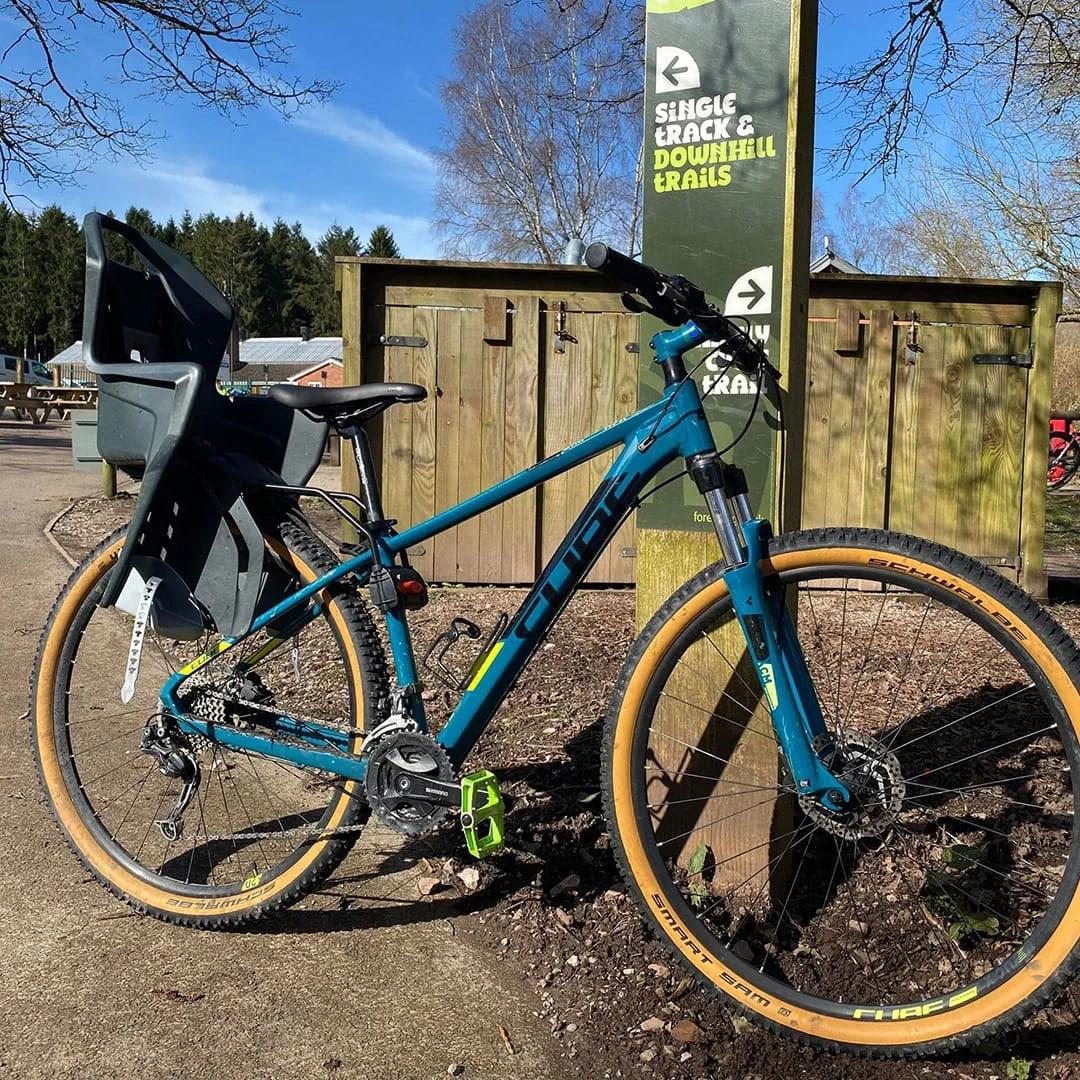
If you have a child seat or carrier attached to your bike, then this also needs checking before it’s put to use. Visually check the child seat for cracks and breaks and make sure that it’s firmly attached to your bike. If not, fix it to your bike using the manufacturer’s instructions.
-
Share This


